
08.Mar.2023
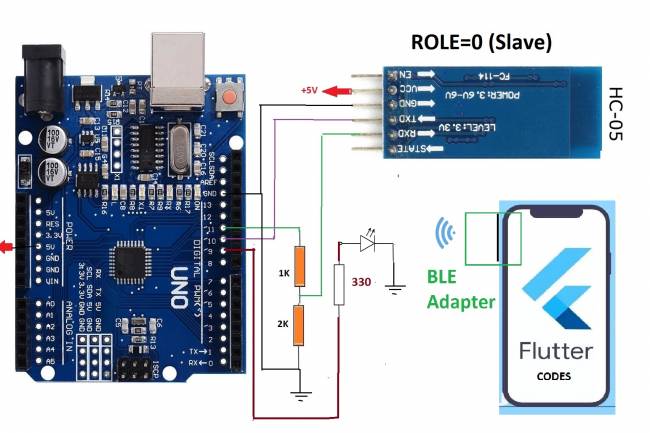
We made our application with the KY-039 Pulse Measurement sensor, which is easily available in the market. We connected it to the microcontroller board with the HC-05 Bluetooth module that we used in our previous applications.
As in the examples of voltmeter and ohmmeter, we read the value with the analogRead function on the microcontroller side. The necessary formulation for heart rate measurement is in Arduino codes. We convert the calculated value to string type and send it to ourBluetooth module with the myserial.write command.
The pulse display application we wrote with Flutter-Dart codes is quite simple. With the receiveData function, we convert the value we receive to string type and print it to a text object.
The receiveData command has been added to a Timer function. Thus, we can receive incoming data at certain time intervals.
import 'dart:async';
 import 'dart:convert';
 //import 'dart:convert';
import 'package:flutter/foundation.dart';
 import 'package:flutter/material.dart';
 import 'package:flutter_bluetooth_serial/flutter_bluetooth_serial.dart';
void main()=> runApp(const MyApp());
class MyApp extends StatefulWidget {
   const MyApp({super.key});
  @override
   // ignore: library_private_types_in_public_api
   _MyAppState createState()=> _MyAppState();
 }
class _MyAppState extends State<MyApp> {
   List<BluetoothDevice> _devices=[];
   late BluetoothConnection connection;
   String adr="00:21:07:00:50:69"; // my bluetooth device MAC Adres
   String recData="0";
  late Timer _timer;
   String _timeString="";
  @override
   void initState() {
     // _startTimer();  automatic
     super.initState();
     _loadDevices();
   }
  Future<void> _loadDevices() async {
     List<BluetoothDevice> devices=await FlutterBluetoothSerial.instance
         .getBondedDevices();
    setState(() {
       _devices=devices;
     });
   }
  //----------------------------
   Future<void> sendData(String data) async {
     data=data.trim();
     try {
       List<int> list=data.codeUnits;
       Uint8List bytes=Uint8List.fromList(list);
       connection.output.add(bytes);
       await connection.output.allSent;
       if (kDebugMode) {
         // print('Data sent successfully');
       }
     } catch (e) {
       //print(e.toString());
     }
   }
// data RECEIVED --------------
  Future<void> receiveData() async {
     connection.input!.listen((Uint8List data) {
       //Data entry point
       setState(() {
         recData=ascii.decode(data);
         //var n1=int.parse('-42');
       });
     });
   }
   //--------------------------------------
// TIMER START-----------
   void _startTimer() {
     _timer=Timer.periodic(Duration(milliseconds: 500), (timer) {
       receiveData();
    });
   }
  // TIMER STOP--------------------------------------
   Future<void> _stopTimer() async {
     setState(() {
     });
     _timer.cancel();
   }
//---------------------------------------------
   @override
   void dispose() {
     _timer.cancel();
     super.dispose();
   }
  @override
   Widget build(BuildContext context) {
     return MaterialApp(
         home: Scaffold(
           appBar: AppBar(
             title: const Text("--- Heart rate monitor with BlueTooth-----"),
           ),
           body: Center(
             child: Column(
               mainAxisAlignment: MainAxisAlignment.center,
               children: [
                 const Text("MAC Adress: 00:21:07:00:50:69"),
                ElevatedButton(child: Text("Connect"), onPressed: () {
                   connect(adr);
                 },),
const SizedBox(height: 30.0,),
                const Text("HR: ",style: TextStyle(fontSize: 55.0),),
                 Text(recData,style: TextStyle(fontSize: 90.0),),
                const SizedBox(height: 10.0,),
                 // Text(_timeString),
                 const SizedBox(height: 10.0,),
                ElevatedButton(child: Text("Stop timer"), onPressed: () {
                   _stopTimer();
                 },),
                 const SizedBox(height: 10.0,),
                ElevatedButton(child: Text("Start timer"), onPressed: () {
                   _startTimer();
                 },),
              ],
             ),
           ),
)
    );
   }
  Future connect(String address) async {
     try {
       connection=await BluetoothConnection.toAddress(address);
       // sendData('111');
       //durum="Connected to the device";
    } catch (exception) {
       // durum="Cannot connect, exception occured";
     }
   }
  @override
   void debugFillProperties(DiagnosticPropertiesBuilder properties) {
     super.debugFillProperties(properties);
   }
// --------------**************data gonder
 //Future send(Uint8List data) async {
 //connection.output.add(data);
 // await connection.output.allSent;
 // }
}
 //------------*********** data gonder end
#include <SoftwareSerial.h>
SoftwareSerial mySerial(10, 11); // RX, TX
 char Buf[50]; //  to bluetooth device<------
 String volt_string="0";
unsigned long oldTime=0;
 unsigned long atTime;
 unsigned long passTime=0;
 int Signal;                // Store incoming ADC data. Value can range from 0-1024
 int level=180;       // Determine which Signal to "count as a beat" and which to ignore.
 float heart_peek=70;
void setup() {
    Serial.begin(9600);           // Set comm speed for serial plotter window
   mySerial.begin(9600);          // bluetooth modeule
 }
void loop() {


   Signal=analogRead(A1); // Read the sensor value
  Serial.print("----->");Serial.println(passTime);

  Serial.print("--->");Serial.println(Signal);

   if(Signal > level){

    atTime=millis();
     passTime=atTime-oldTime;
     oldTime=atTime;

        heart_peek=(600000/passTime);
     Serial.print("RPM:");   Serial.println(heart_peek);
      volt_string=String(heart_peek);

      volt_string.toCharArray(Buf, 50);
      mySerial.write(Buf);
   }

  delay(500);

  // Serial.println(Signal);
 }
How to make a night light with Bluetooth control and three colors?
A practical and inexpensive night light design with Bluetooth control
03.03.2023
Measuring DC Volts with Android Phone - Voltmeter
Converting an old tablet computer to a voltmeter (with bluetooth)
04.03.2023
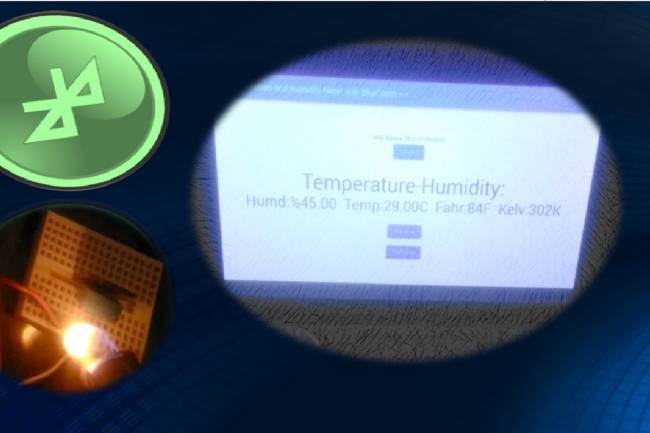
We make temperature and humidity detection system with Android device
Android apps
05.03.2023
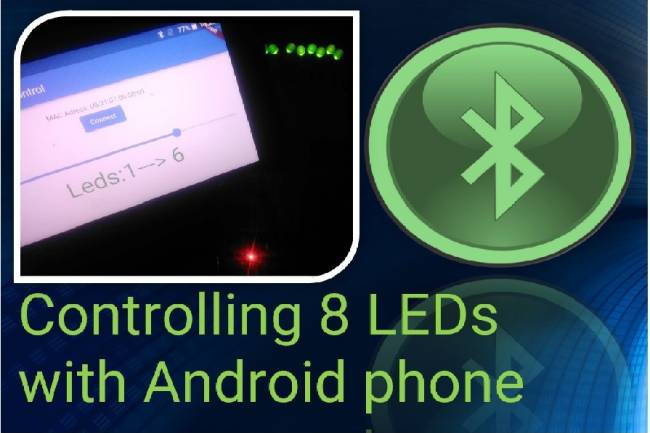
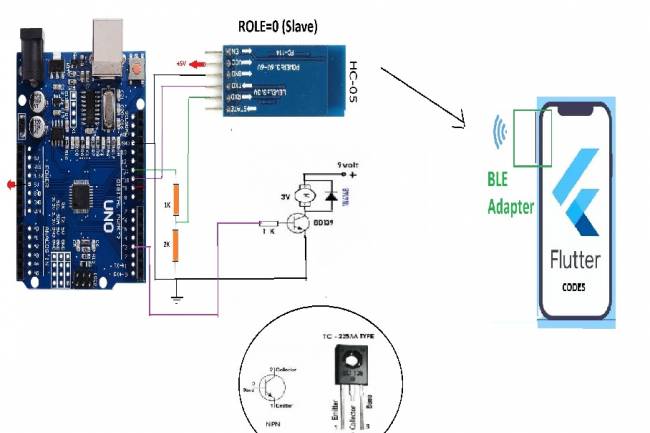
Controlling 8 LEDs with Android phone
Android apps with Bluetooth Module
13.03.2023
DC Motor Speed Control by Android phone
Android Mobil Apps
14.03.2023
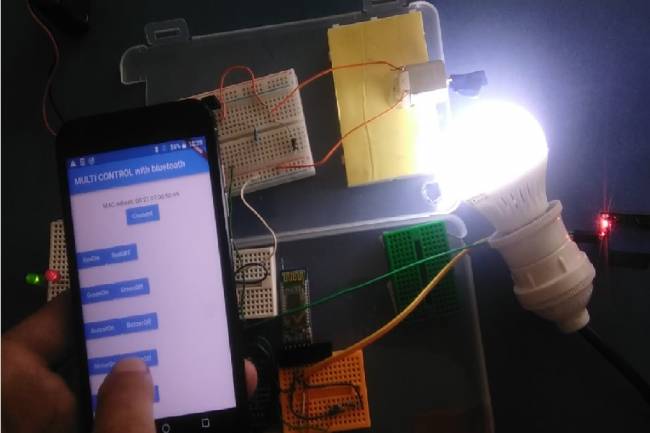
Controlling multiple devices with Android phone
Android Apps with Bluetooth
15.03.2023
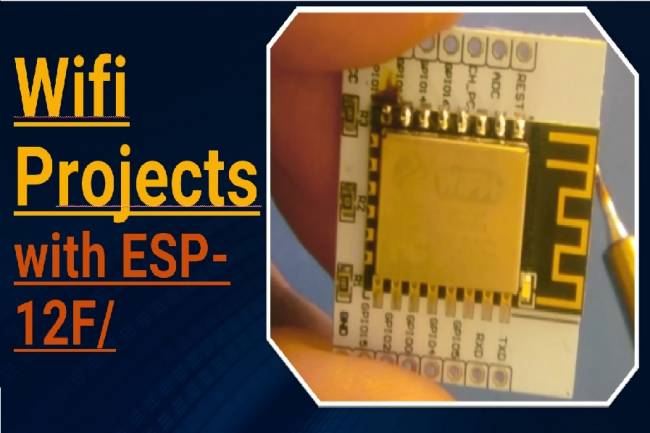
Projects with Wifi Module
Wifi module settings
20.03.2023
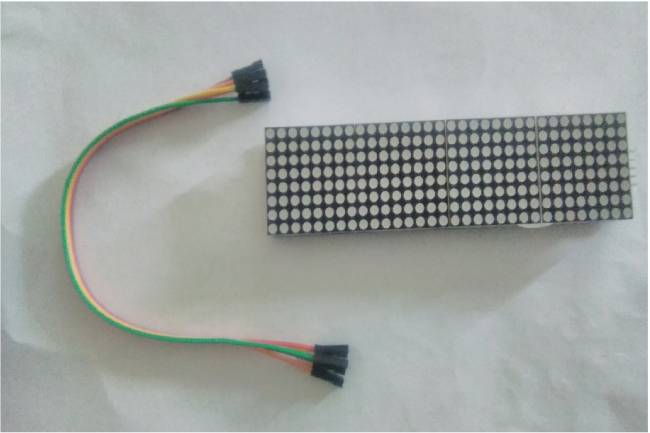
Application to Control Led Matrix Panel with Android Phone - Part 1
Led Panel-Bluetooth Apps
29.03.2023

Designing an IoT System
Designing an IoT system for personal and business
22.05.2023
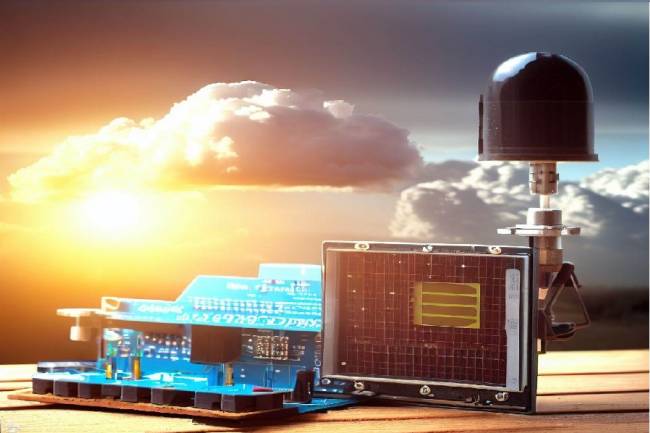
Reading the Weather Using the GSM Module Connected to the Microcontroller
How to make weather reading application with GSM module
24.05.2023
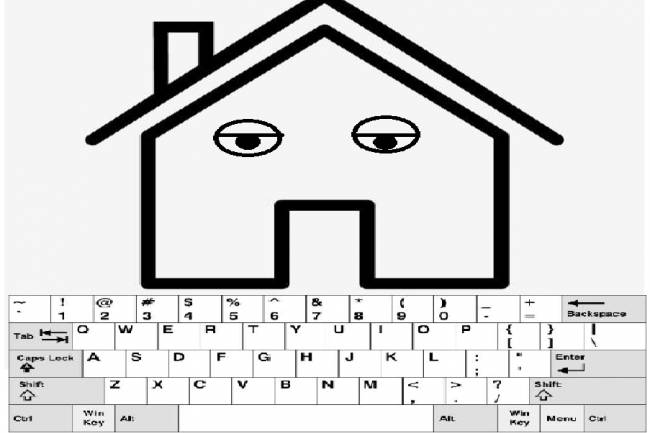
Smart Homes Can Be Smarter Than Us.
I'm Programming My House.
18.12.2022

IoT impact in the Healthcare Industry
What is the level of applications of IoT objects in the health sector?
22.12.2022
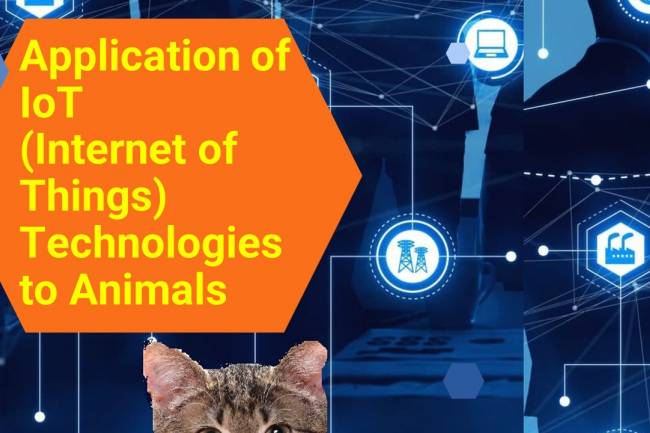
Application of IoT(Internet of Things) Technologies to Animals
Animals on the Internet
23.12.2022

Smart Cars in the IoT Universe
The evolution of Smart Cars
24.12.2022
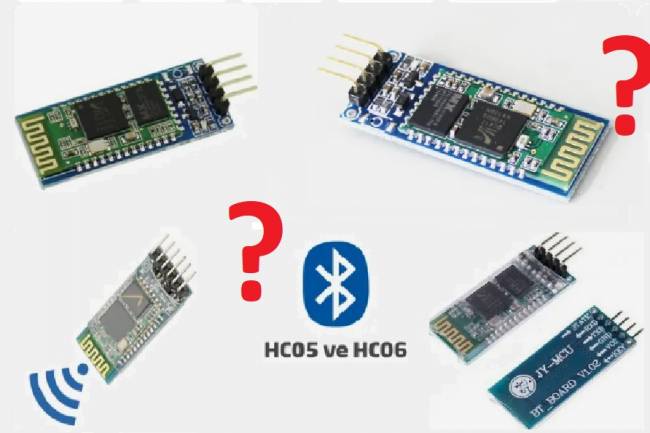
Use of HM-10, HC-06 and HC-05 Bluetooth Modules in IoT Projects
Use of HM-10, HC-06 and HC-05 Bluetooth Modules
23.01.2023
Led Control Application with HC-05 Bluetooth Module
Led Control with Android Phone-Flutter
25.02.2023
Electronic Organ Construction with HC-05 Bluetooth Module
Electronic organ design with the program written with Flutter-Dart codes
25.02.2023
220 Volt Lamp On-Off Application with Bluetooth
A bluetooth application made with Flutter-Dart codes
25.02.2023
Measuring resistance by phone to Android
Measuring resistance by phone to Android( with Flutter-Dart)
02.03.2023